Guide
,
Website
,
Wordpress
February 29, 2024
No Comments
Previous Post
Next Post
Sponsor Post*
Categories
AI Tools
(3)
BLOG
(59)
Digital Marketing
(61)
Enterprise
(1)
Guide
(20)
Latest
(47)
Software
(3)
Website
(34)
Latest Post
Top List
Why We Need a Website for Business: Complete Guide
Top 5 Web Hosting Service Providers In Pune
Comparing Cloud Hosting Providers: Finding the Right Fit For Your Business
Building Your Digital Empire: Tap For Tech – Your Website Development Agency Near You
What Are SEO Services and What’s Included in Them?
Can Pop-Up Ads Help With User Experience? Yes & Here’s How
Search Ads 360: What Is It and How Can You Use It?
What Is AdSense and How Do You Make Money With It?
A Basic Guide to PPC Testing: How to Optimize Your Ads for Greater Conversions
Google Ads Auction Explained — How to Improve Your Ad Rank
The Ultimate Guide to Advertising Plans
Your Ultimate Guide to Awareness Advertising
Ad Waste — Definition, Causes, and How to Prevent It
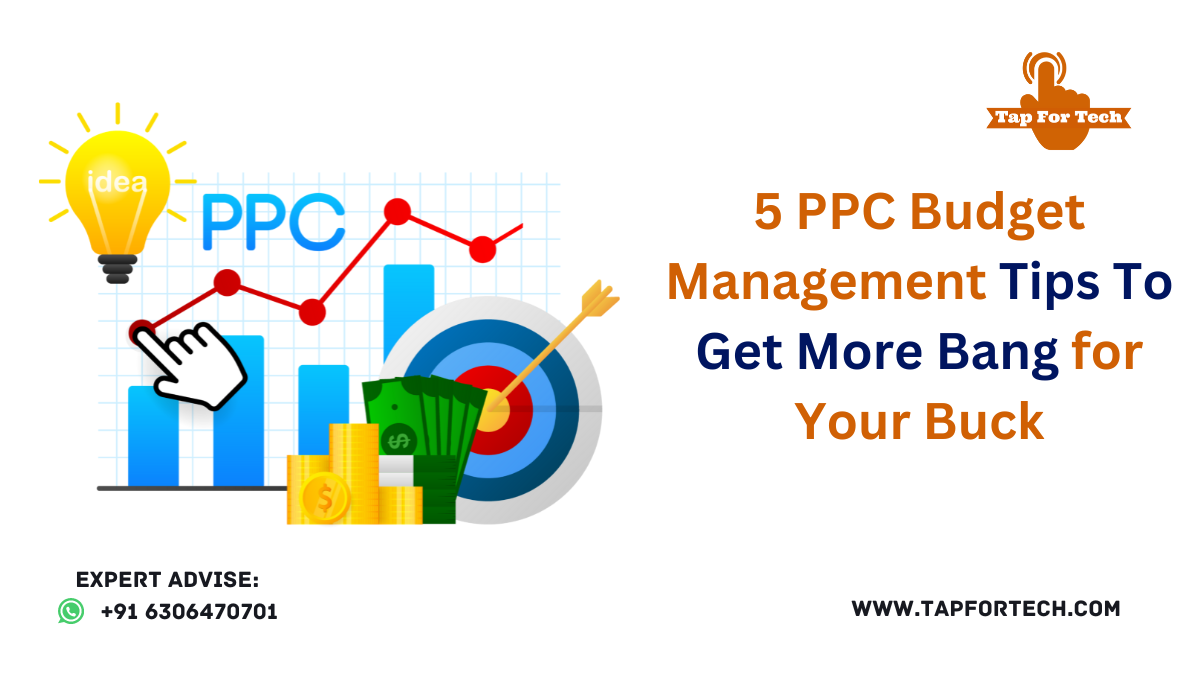
5 PPC Budget Management Tips To Get More Bang for Your Buck
Grow Your Pay-Per-Click Revenue With a Top PPC Agency
What Is a Social Media Agency? (And What Do They Do?)
SEO Checker: Get Your Free SEO Report Now!
What Is ERP? Everything You Need for Enterprise Resource Planning
10 Marketing Automation Trends for 2024 to Increase Your ROI
5 Ecommerce Marketing Strategies That Work in 2023
Web Crawler 101: What Is a Web Crawler and How Do Crawlers Work?
My Website is Not Secure — Securing Your Site with HTTPS
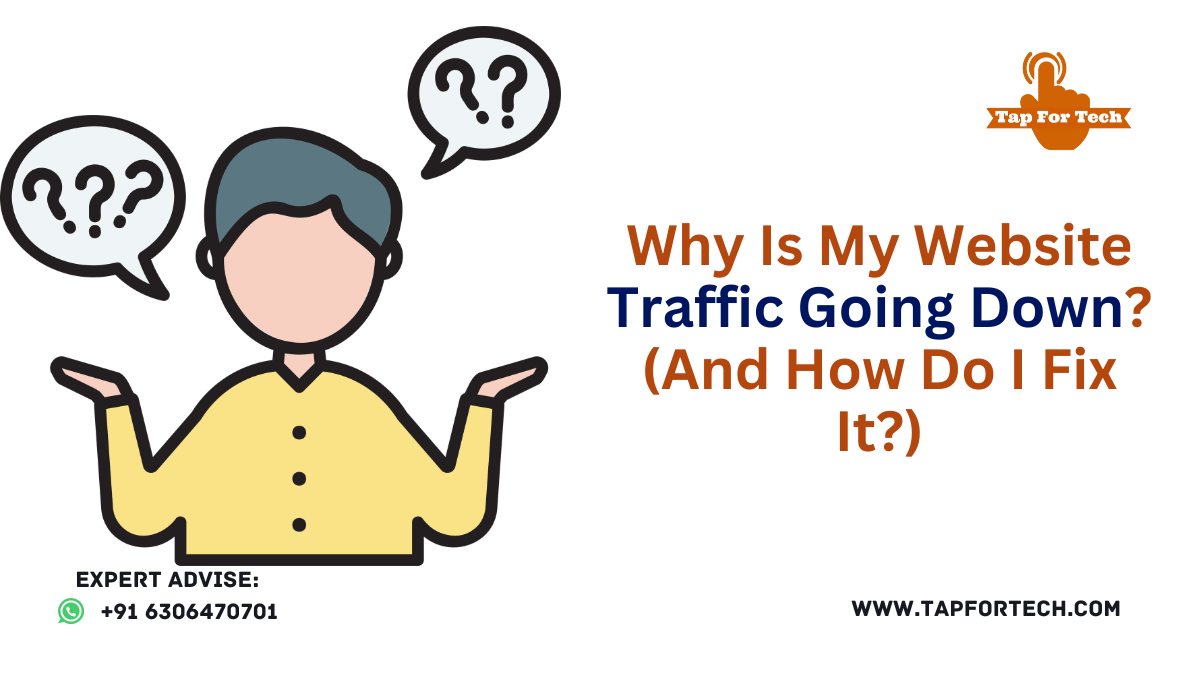
Why Is My Website Traffic Going Down? (And How Do I Fix It?)
My Website Doesn’t Convert – 6 Reasons Your Conversion Stats Suck
Google Stories: What They Are and How to Use Them
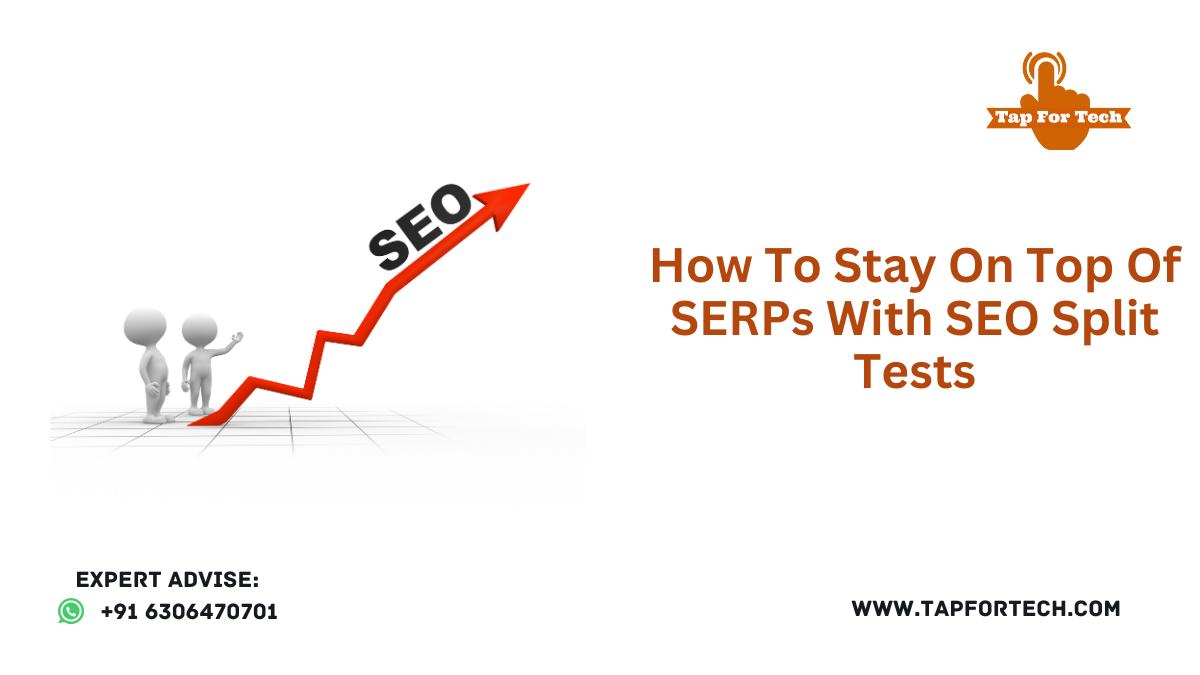
How To Stay On Top Of SERPs With SEO Split Tests
How to Perform an SEO Audit in 2023: Your Complete Guide
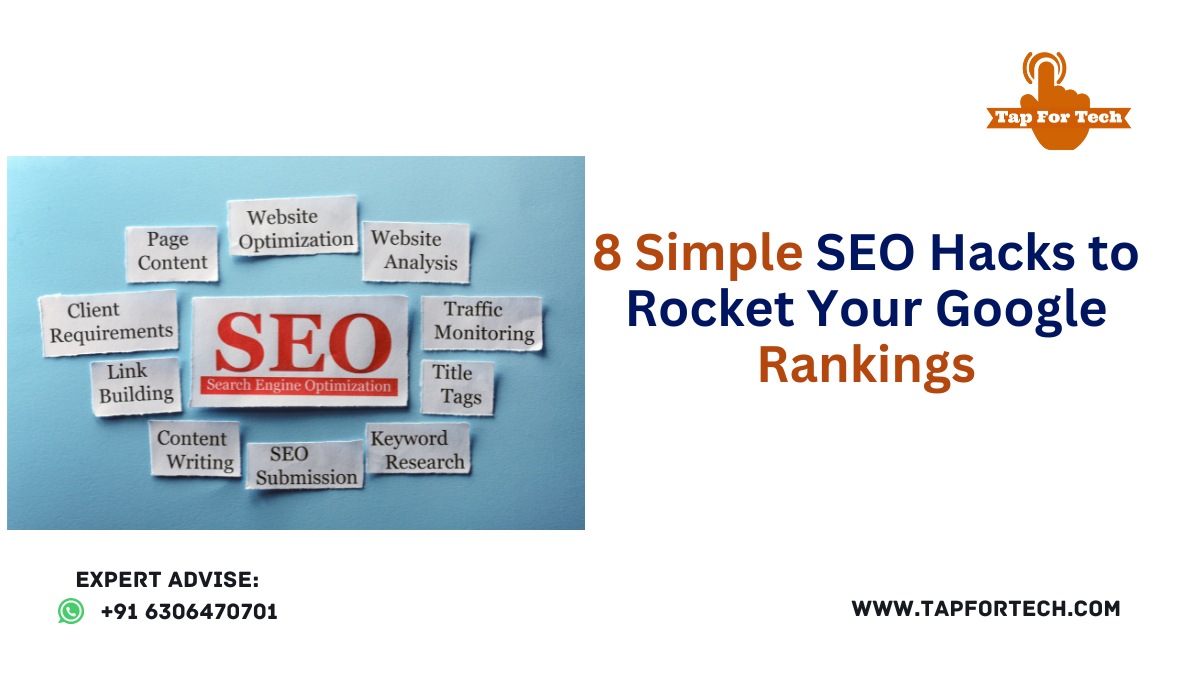
8 Simple SEO Hacks to Rocket Your Google Rankings
What Is FAQ Schema? (And How to Get Started With FAQ Schema for Google)
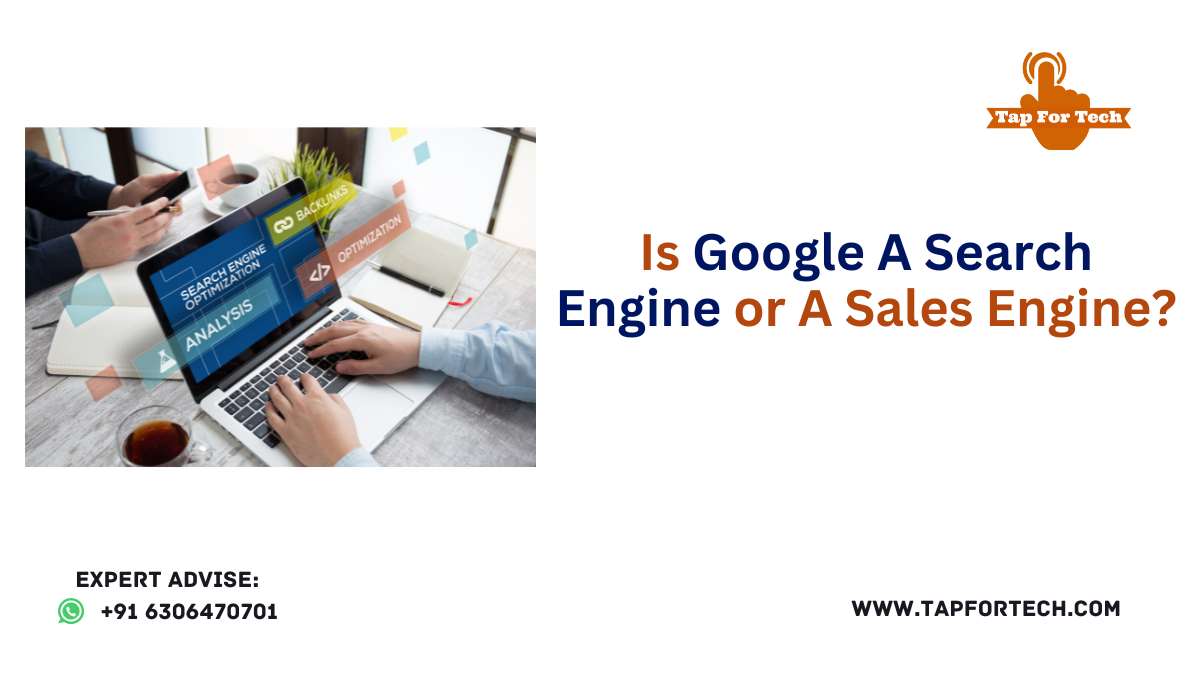
Is Google A Search Engine or A Sales Engine?
5 Reasons Why You Should Invest in SEO for Your Business
How to Increase Organic Traffic in 2024: 13 Tips for Success
Where Does Display Advertising Fit in the Sales Funnel?
Top 5 A/B Testing Ideas for Responsive Search Ads to Maximize Your Conversion Rate
10 Modern Web Design Trends for 2025
15 Top Digital Marketing Agencies in India
How To Speed Up WordPress Website In Just a Few Steps
10 Benefits of Full-Service Marketing From An Agency
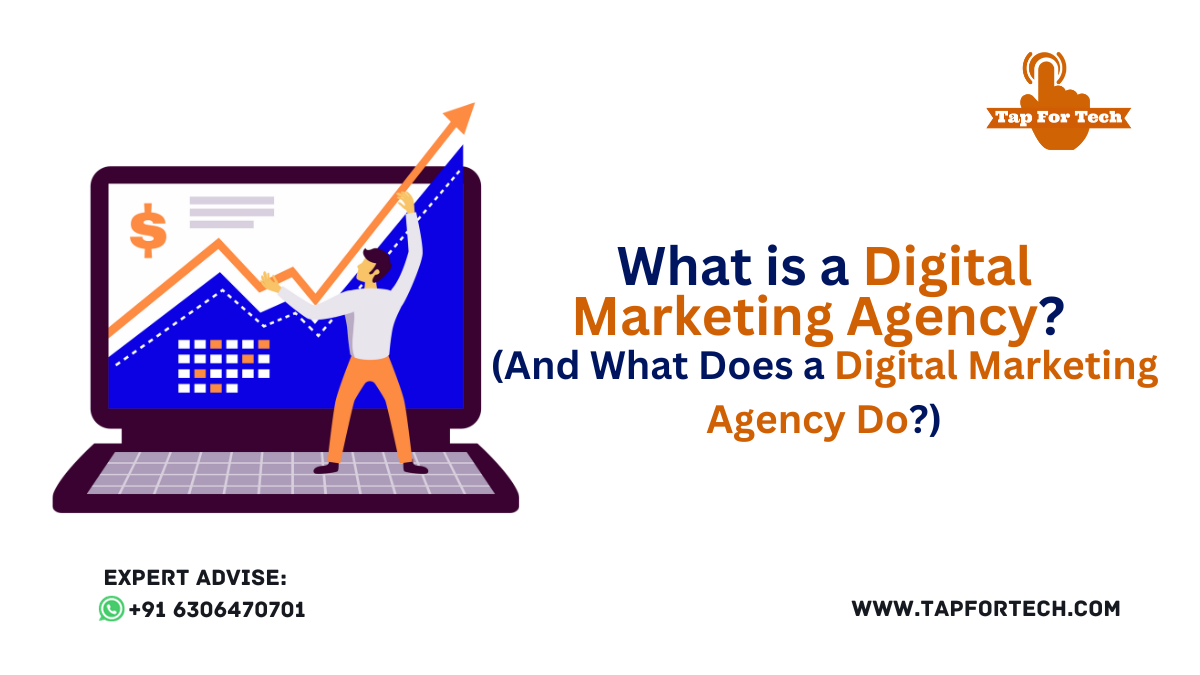
What Is a Digital Marketing Agency? (And What Does a Digital Marketing Agency Do?)
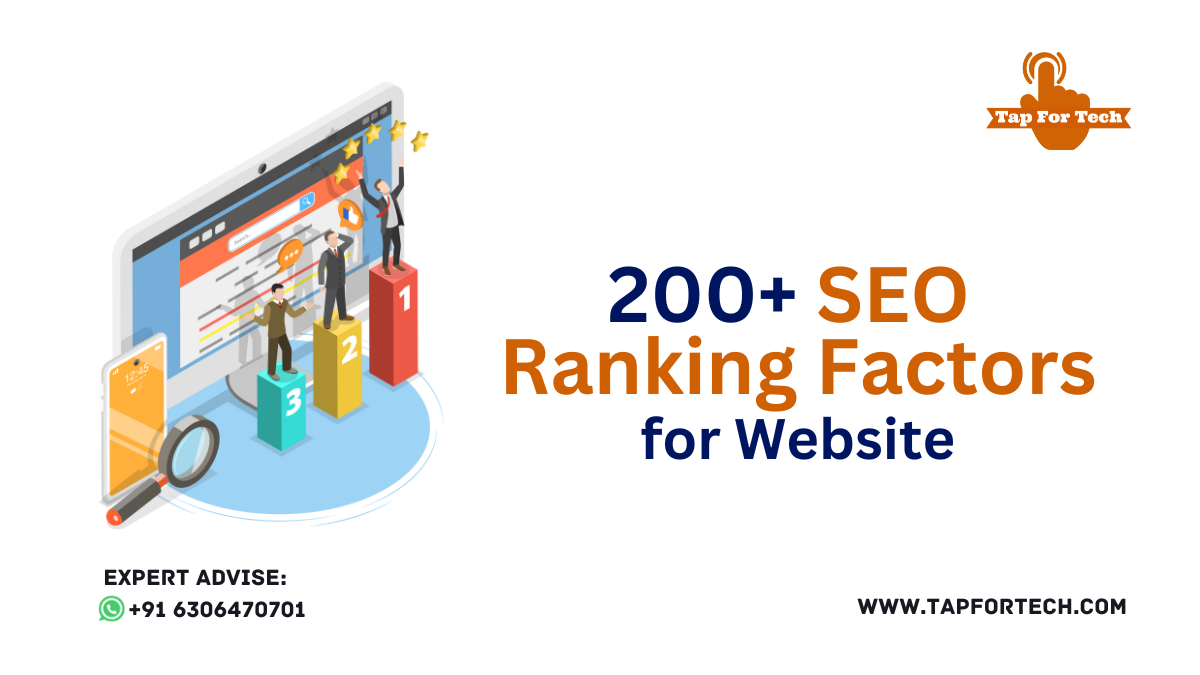
Your Complete List of 200+ SEO Ranking Factors
5 Major Benefits of E-commerce Websites for Businesses
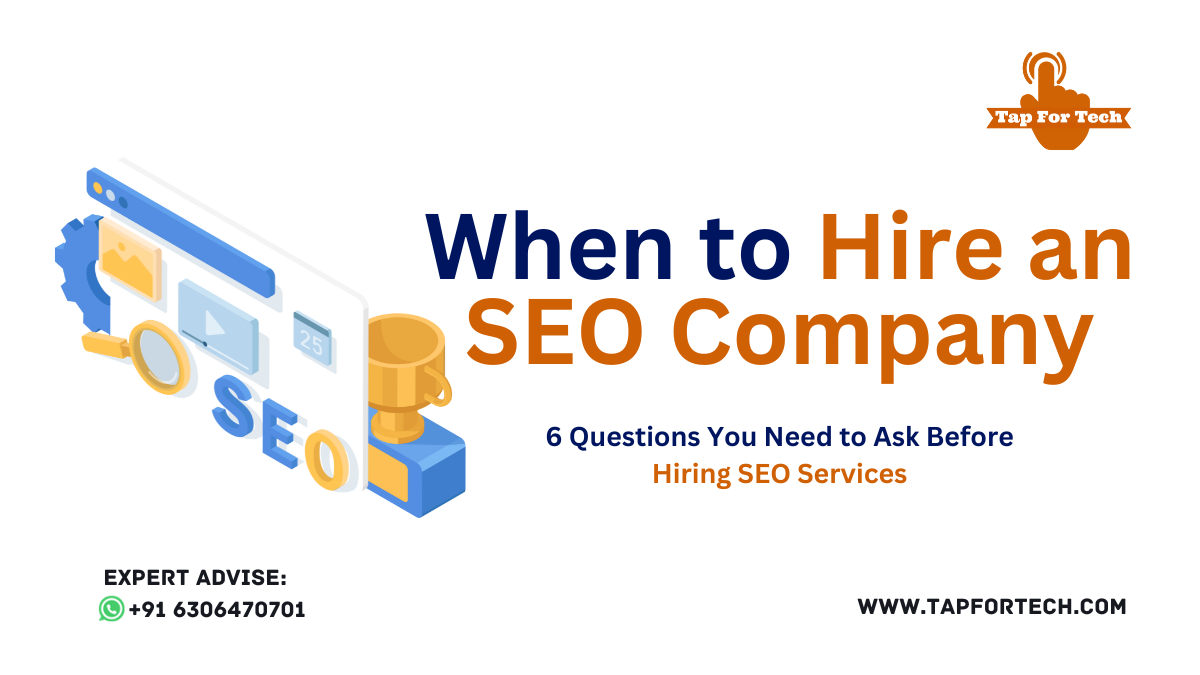
When to Hire an SEO Company: 6 Questions You Need to Ask Before Hiring SEO Services
15-Step SEO Audit Checklist to Get Higher Rankings in 2024
How To Outsource Your SEO: Steps To Outsource, Outsourcing Options, & More
Why Your Website Isn’t Appearing on Google Search and How to Resolve It?
15 SEO Tips for Beginners That Will Get Your Site Ranking in 2024
5 Types of SEO Workflows That Help You See Better Results with SEO
Is SEO Dead in 2024? Answer: No!
What Is My SEO Score? 9 Key Factors that Influence It
“Fueling Hospital Growth: Inspiring Success Stories with Meta Ads”
Marketing Agency Near Me: Tap For Tech
Website Development Company Pune: Tap For Tech – Your #1 Choice for Website Development Services
Digital Marketing Agency Near Me: Tap For Tech #1 Best Digital Marketing Company
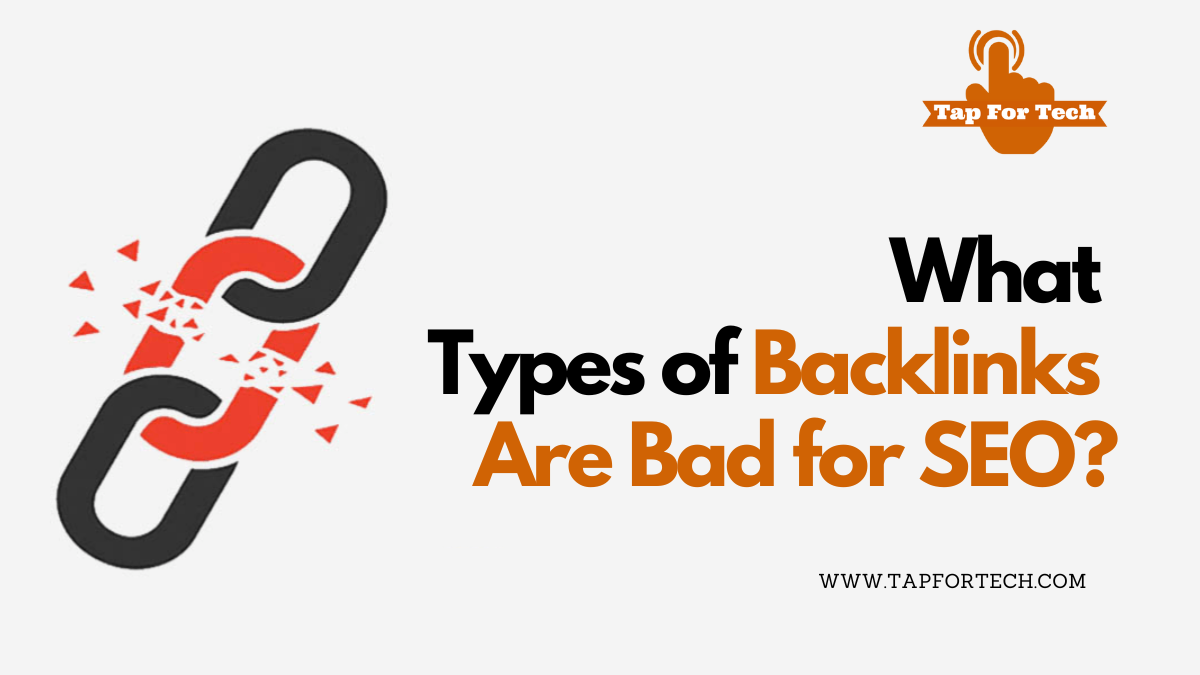
What Types of Backlinks Are Bad for SEO?
2022 Calender
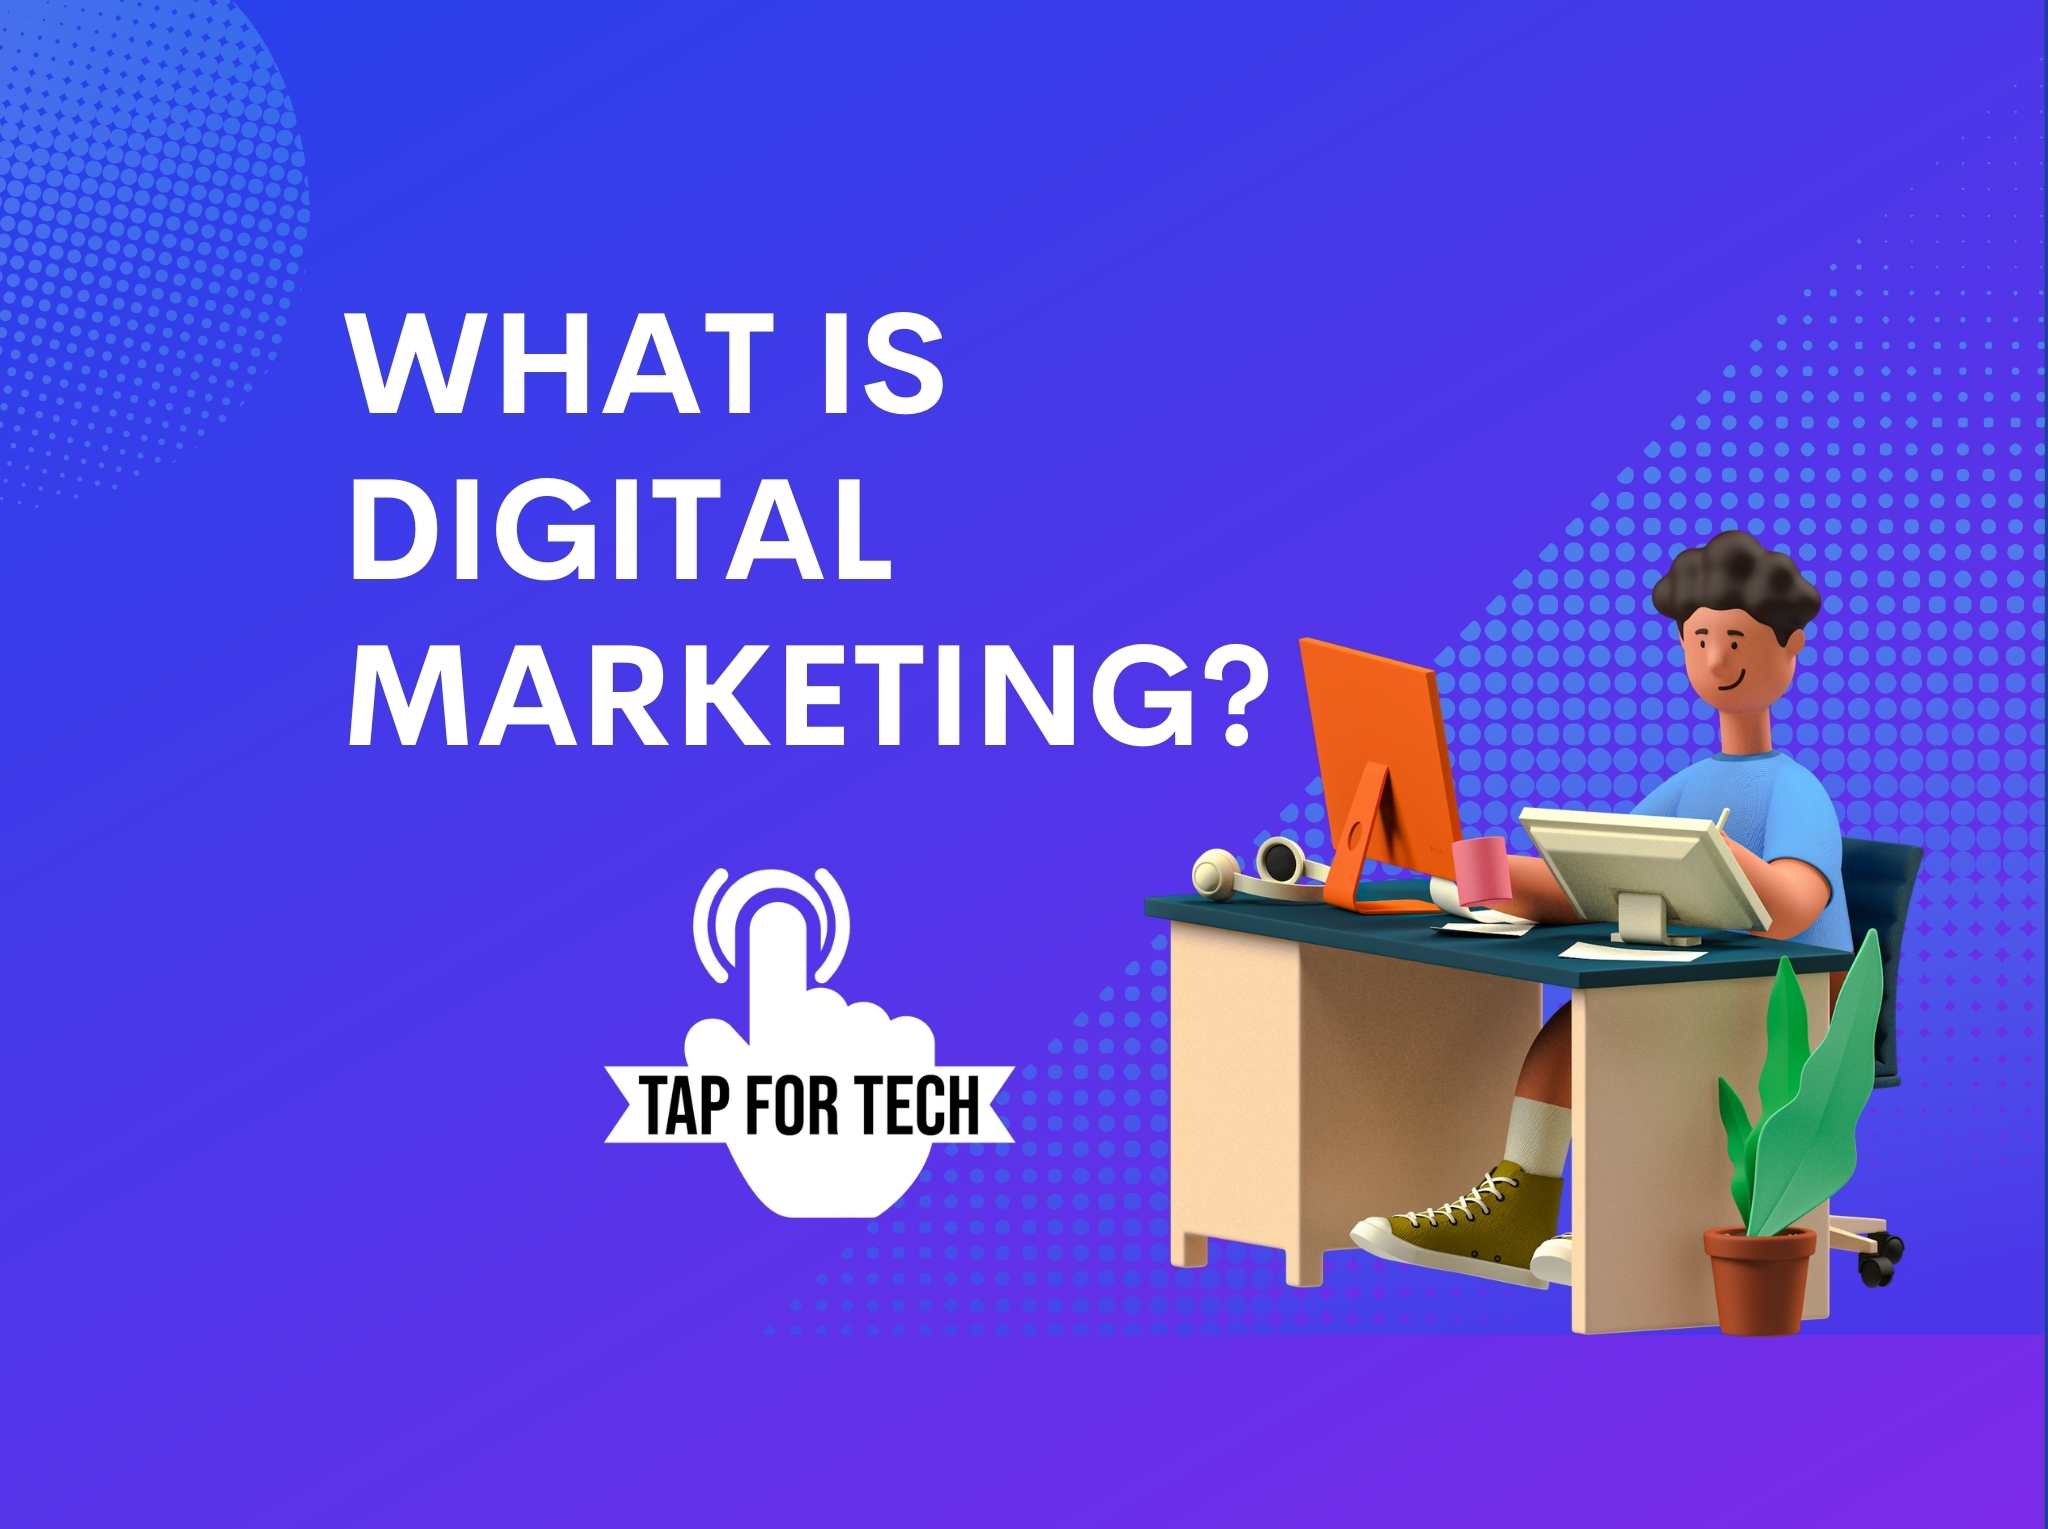
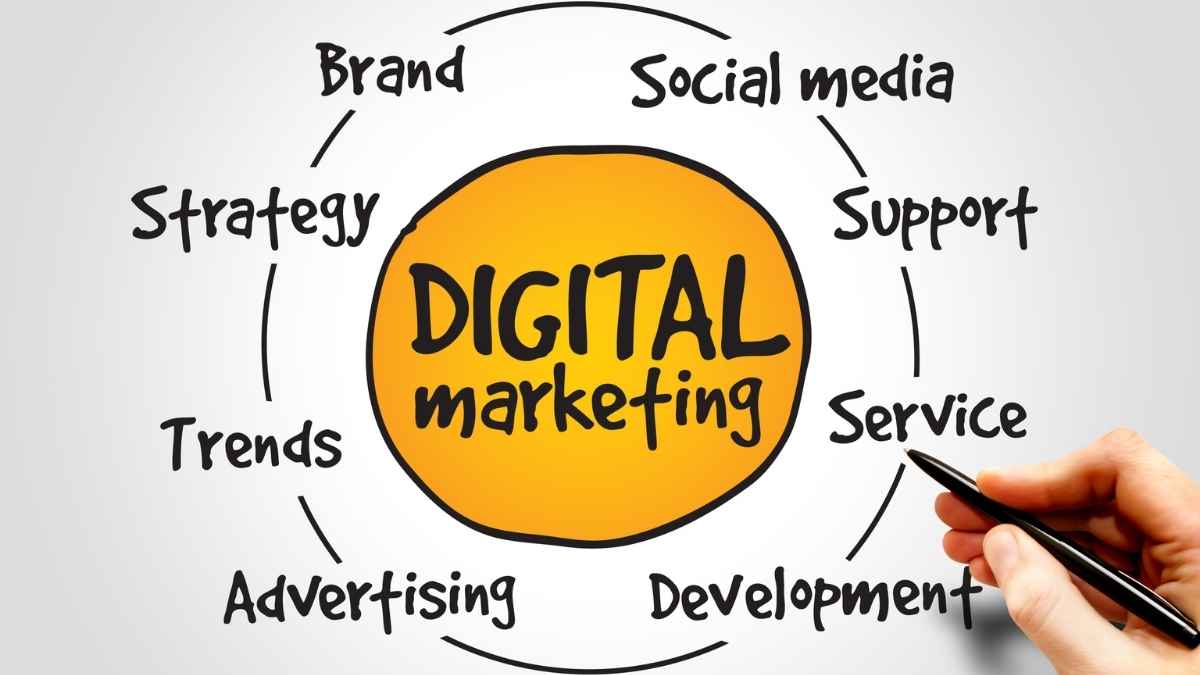
What is Digital Marketing?: Unlocking Success in the Online World
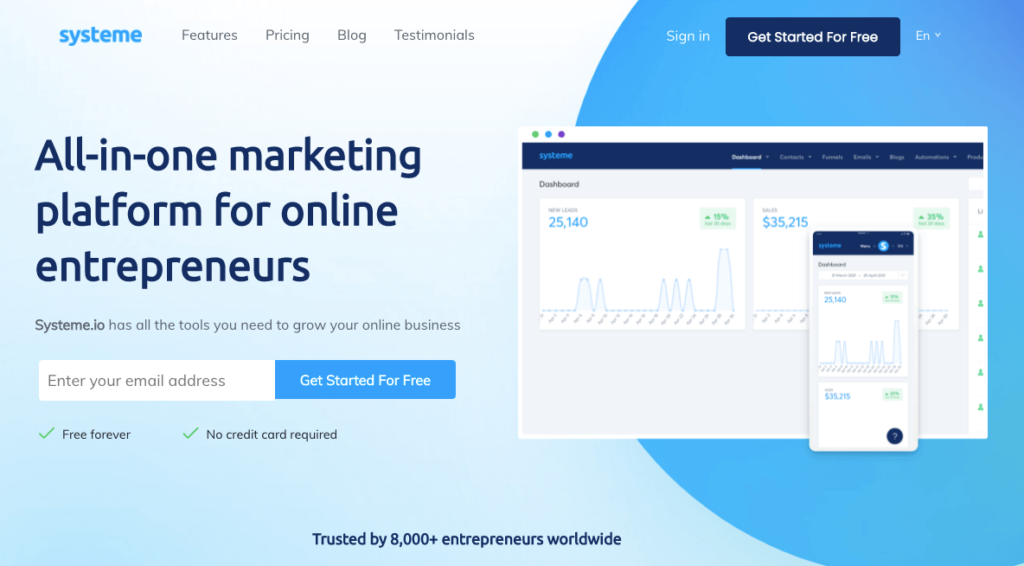
Systeme.io : The All-in-One Platform for Online Business Success
SEO Company in Pune: Tap For Tech #1 Best Digital Marketing Company
#1 Best SEO Company in Noida: Boost Your Online Presence with Tap For Tech
SEO Company in Surat: Tap for Tech – Your #1 Choice for Digital Marketing Services
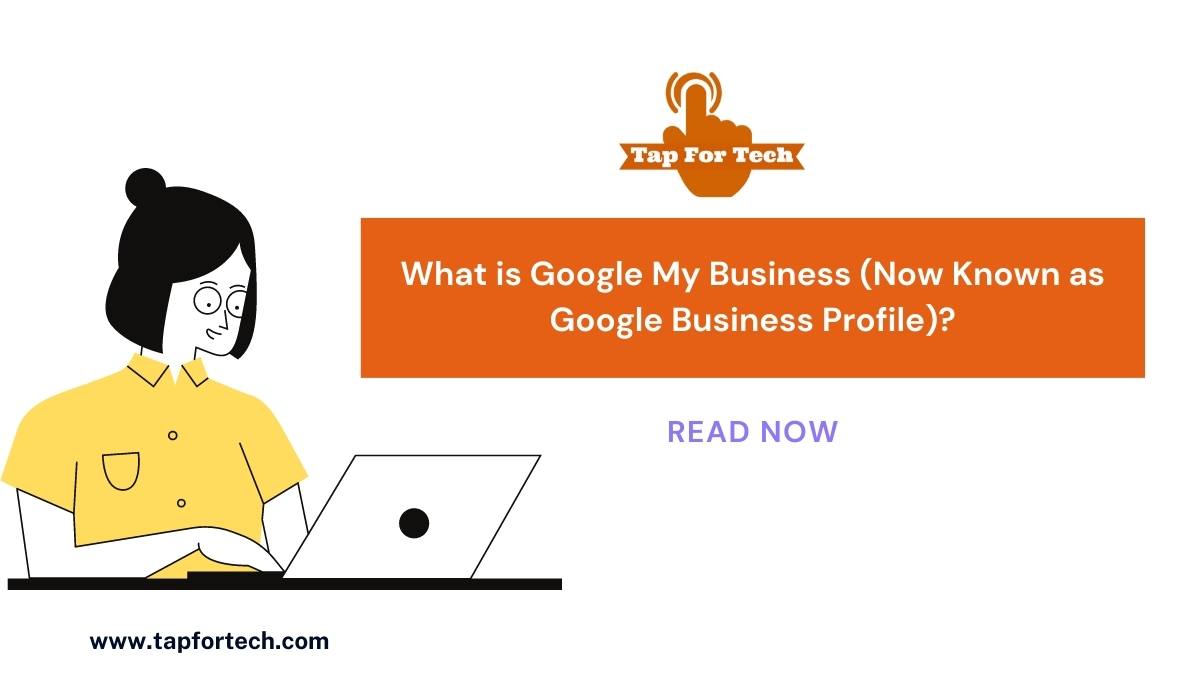
What is Google My Business (Now Known as Google Business Profile)?
Easy SMM Panel: #1 Unlocking Social Media Success
30+ SEO Hacks Guaranteed to Grow Your Traffic
Hent AI: #1 Revolutionizing Artificial Intelligence
Google My Business Management: A Complete Guide to Optimizing Your Business Profile
5 best SEO Tools to Use for Organic Traffic in 2023
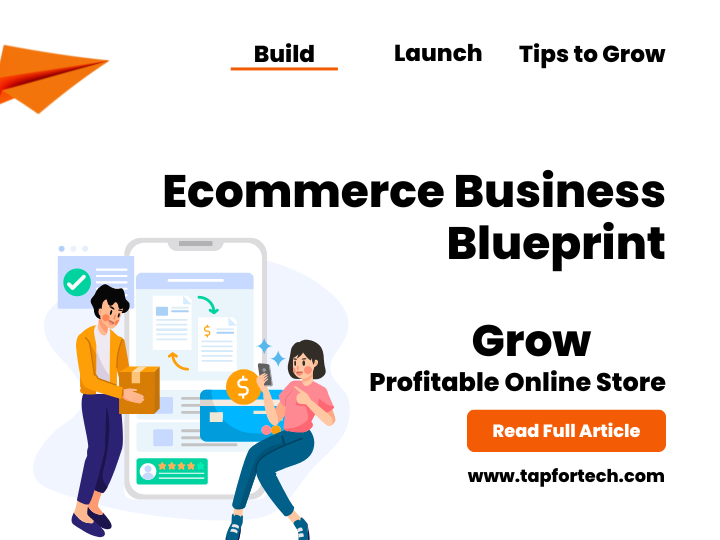
Ecommerce Business Blueprint: How to Build, Launch, and Grow a Profitable Online Store
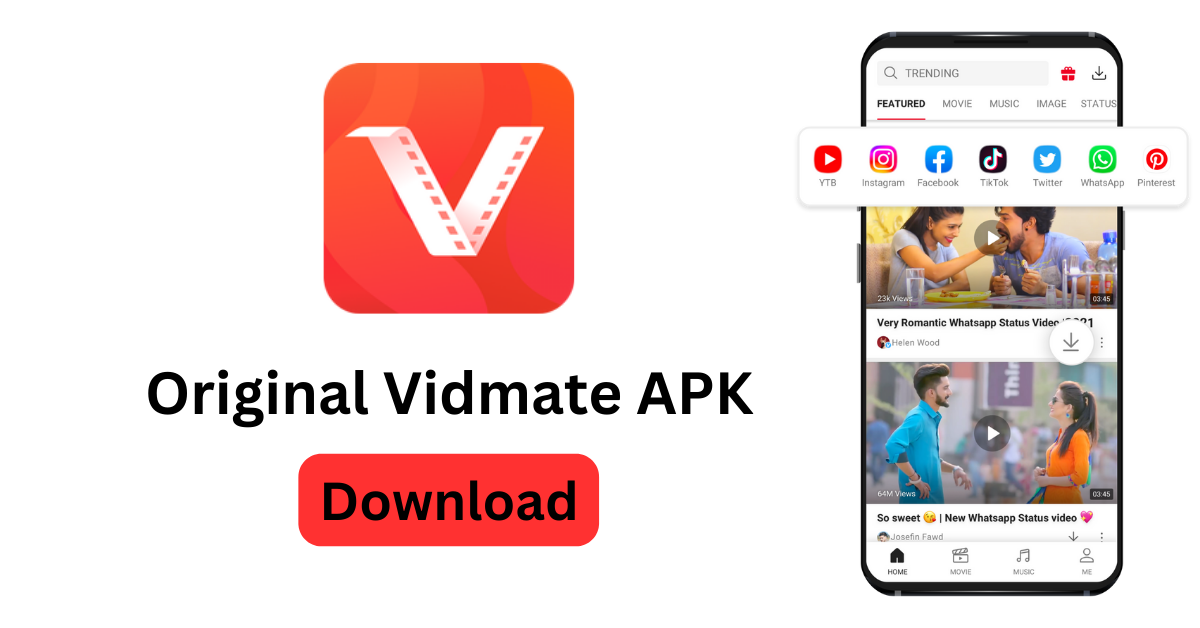
#1 Vidmate : How to Prepare a Business like Vidmate – A Case Study
10 Key Benefits Of SEO For Your Business: Why SEO Is So Powerful
Top 8 Digital Marketing Strategies to Generate Leads for Your Real Estate Business
Reasons on Why Real Estate Builders and Agents Need Their Own Websites
Why Every Business Needs a Website
10 Key Steps to Building a Great Small Business Website
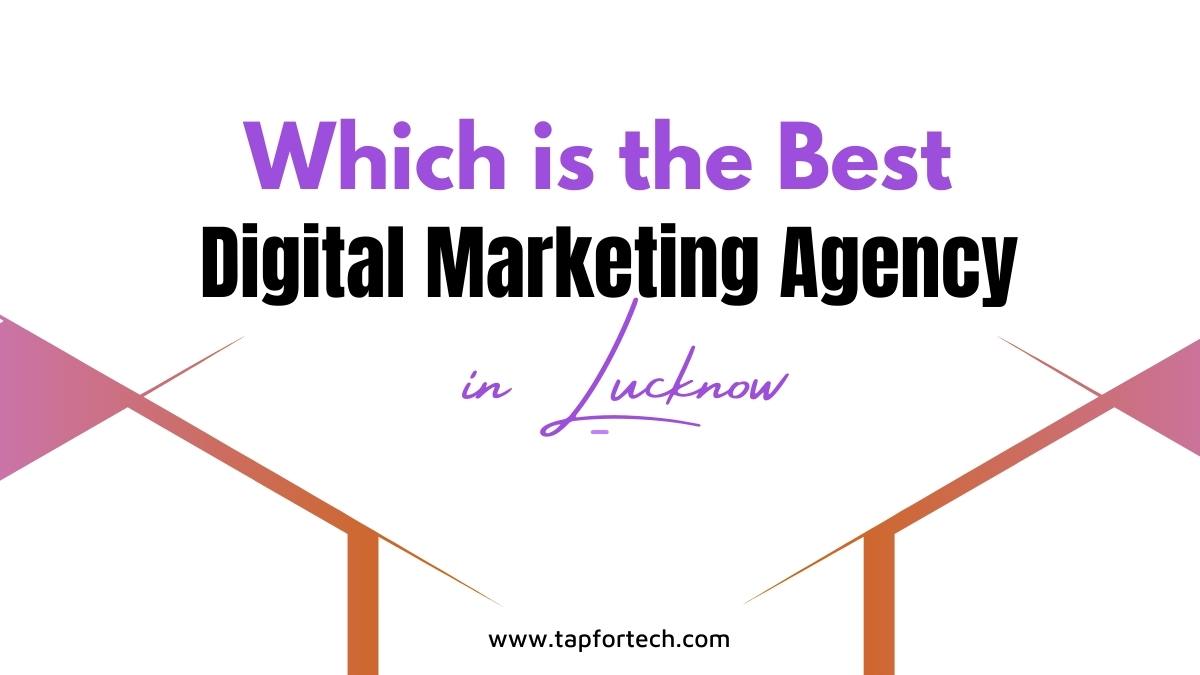
Which is the Best Digital Marketing Agency in Lucknow
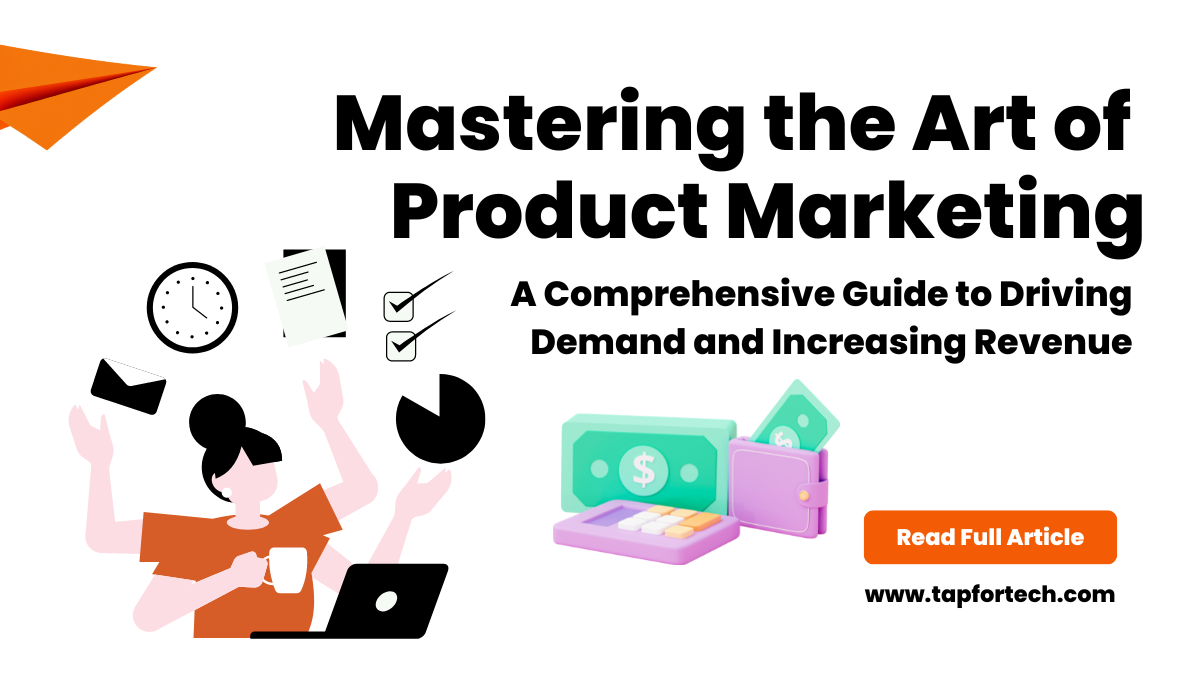
Mastering the Art of Product Marketing: A Comprehensive Guide to Driving Demand and Increasing Revenue
5 proven strategies for lead generation through digital marketing
5 Simple Steps to Create a One-Page Website in WordPress
How To Fix The “WordPress Keeps Logging Me Out”
Best Website Development Company: How to Choose the Right One
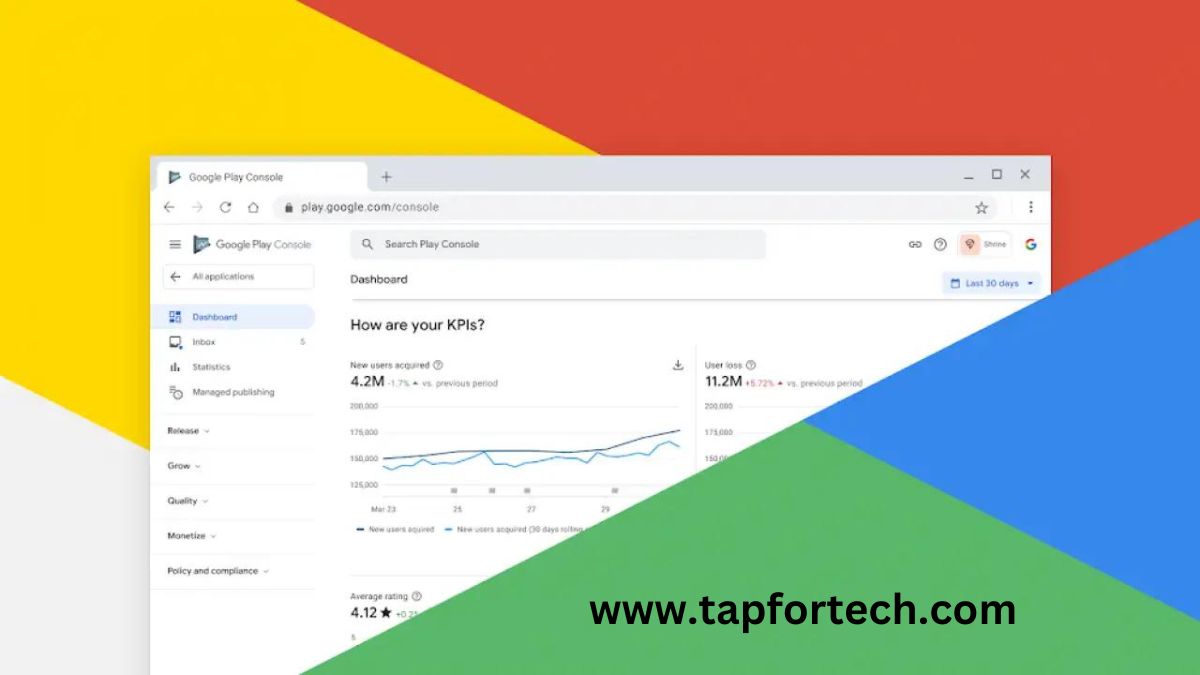
Google Play Console: Everything You Need to Know
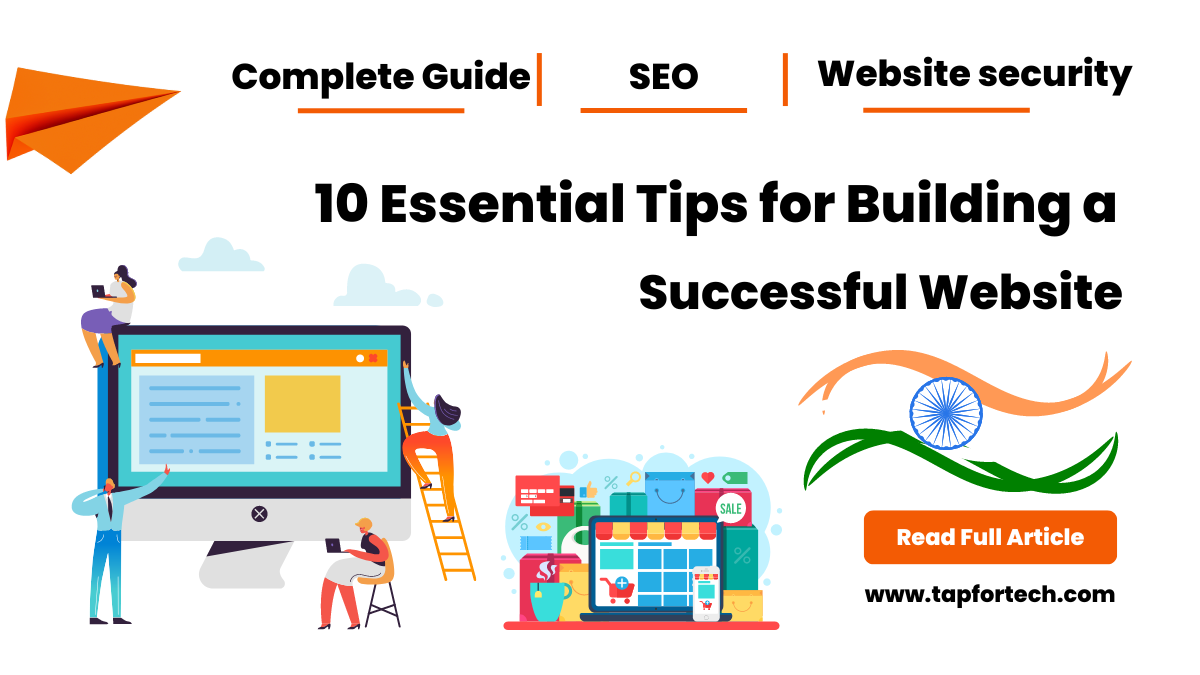
10 Essential Tips for Building a Successful Website
How to Barcode Generator Work?
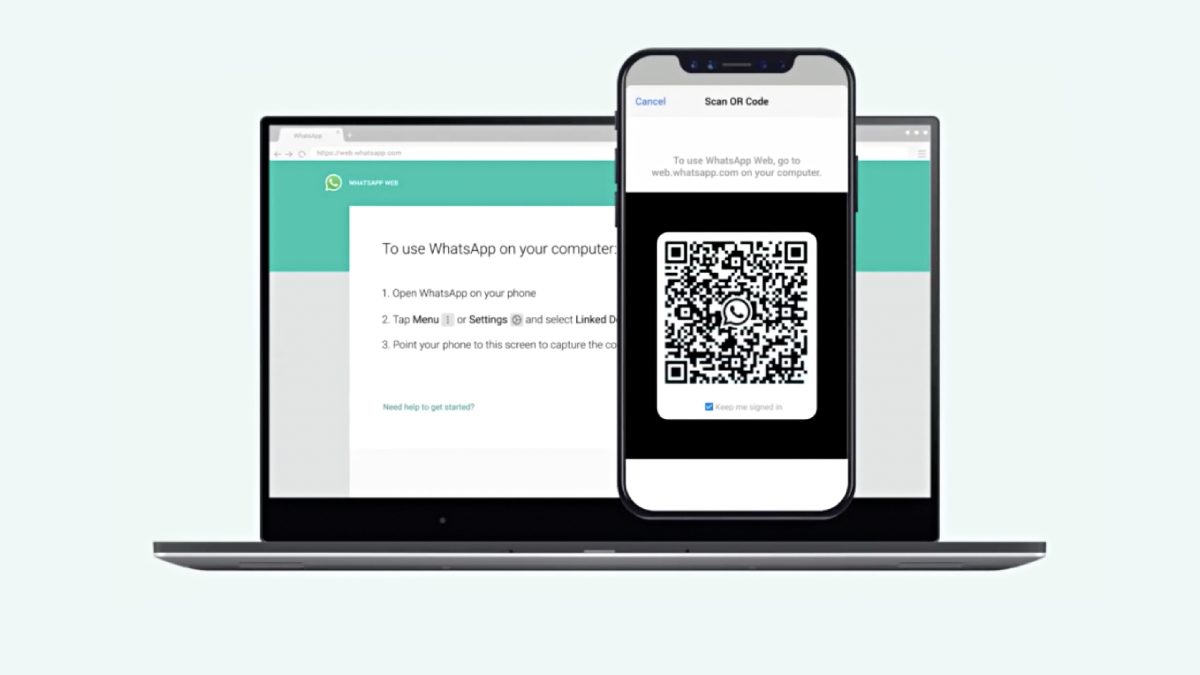
WhatsApp for Website: How to Integrate WhatsApp into Your Website
Get Instant Calculations By Calculator-online.net
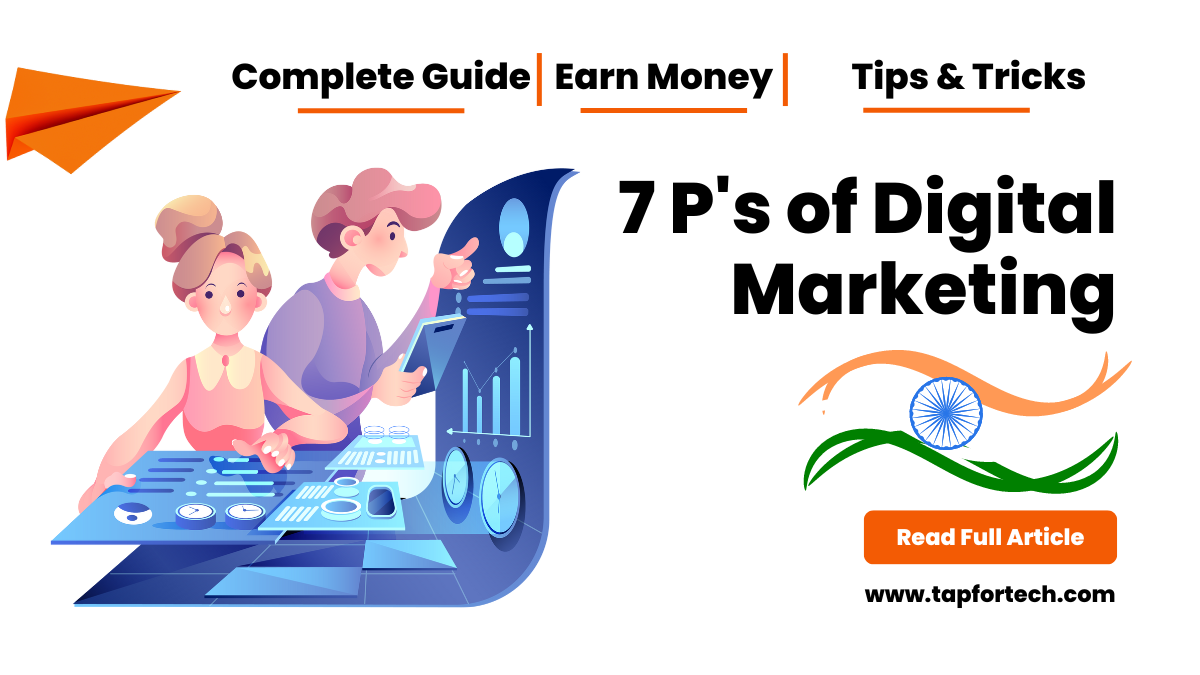
7 P’s of digital marketing
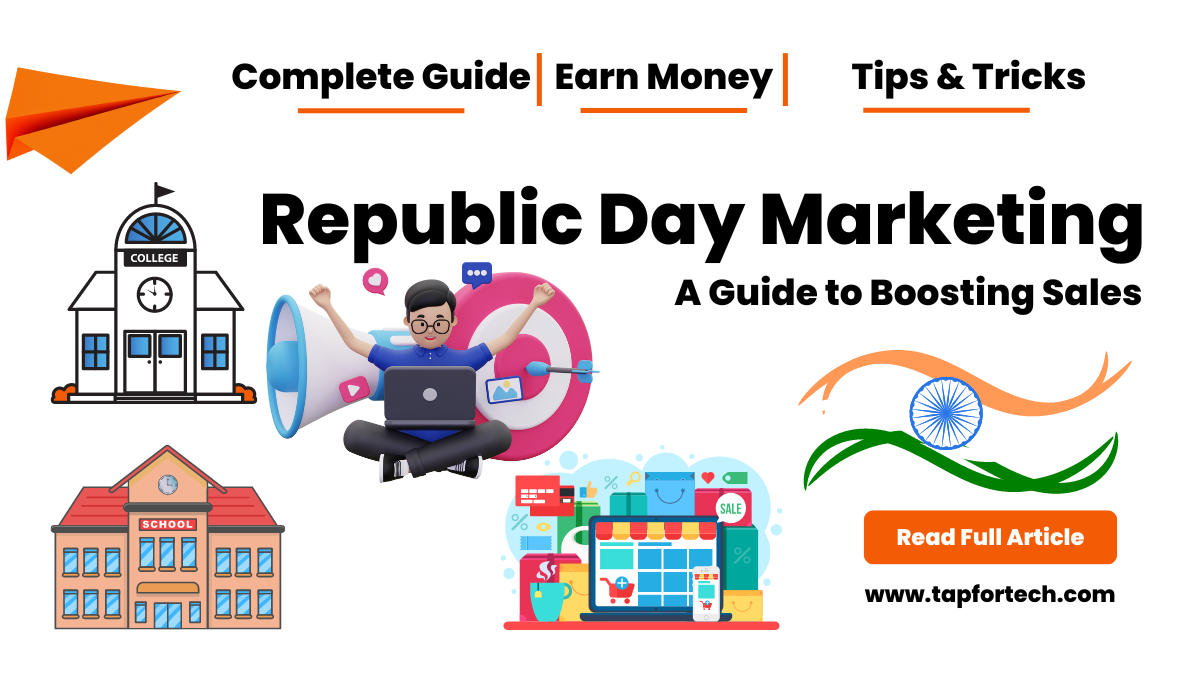
Republic Day Marketing: A Guide to Boosting Sales
Creating and Monetizing a News Website using WordPress, Google Analytics, and Adsense: A Step-by-Step Guide
Building a Blog Website with WordPress: A Complete Guide for New Users
WordPress: The Ultimate Guide 2023
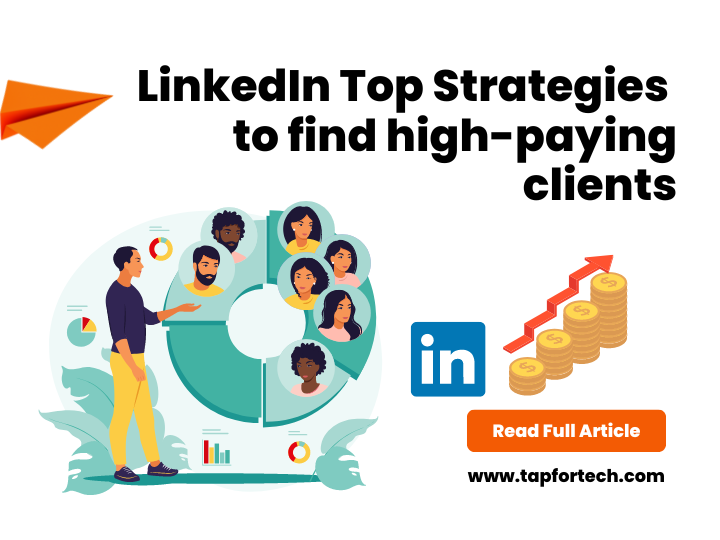
LinkedIn top strategies to find high-paying clients
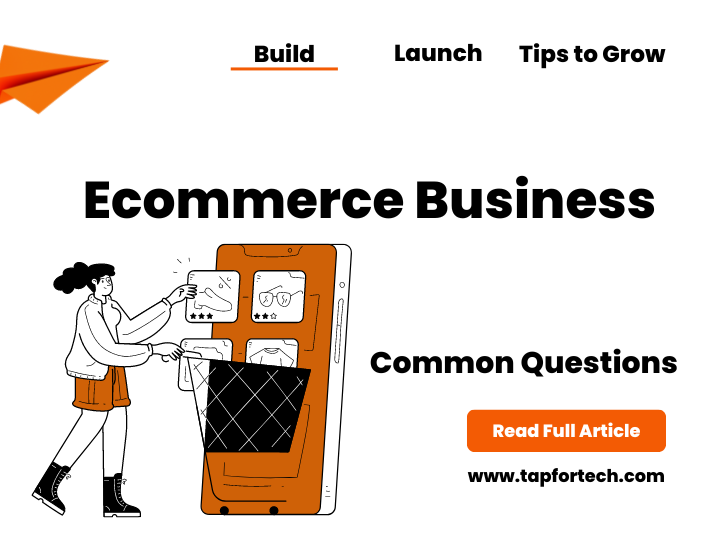
Ecommerce Business Common Questions
Ecommerce Business Blueprint: How to Build, Launch, and Grow a Profitable Online Store
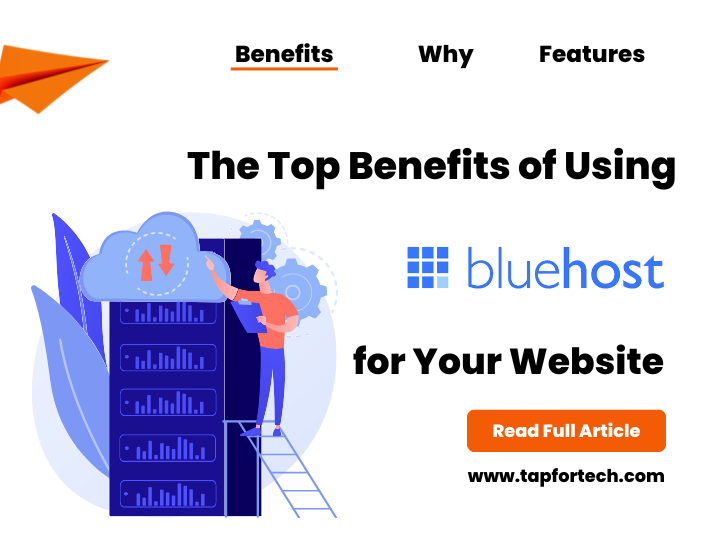
Bluehost: The Top Benefits of Using Bluehost for Your Website
Shopify for Startups: The All-In-One Platform for Building and Growing Your Online Store
Hostinger India: The Go-To Destination for High-Quality, Affordable Web Hosting
Why a website should be designed to be search engine friendly?
Social Media Marketing: The Ultimate Guide, Tips, Tricks, and Best Practices
Email Marketing: The Ultimate Guide, Tips, Tricks, and Best Practices
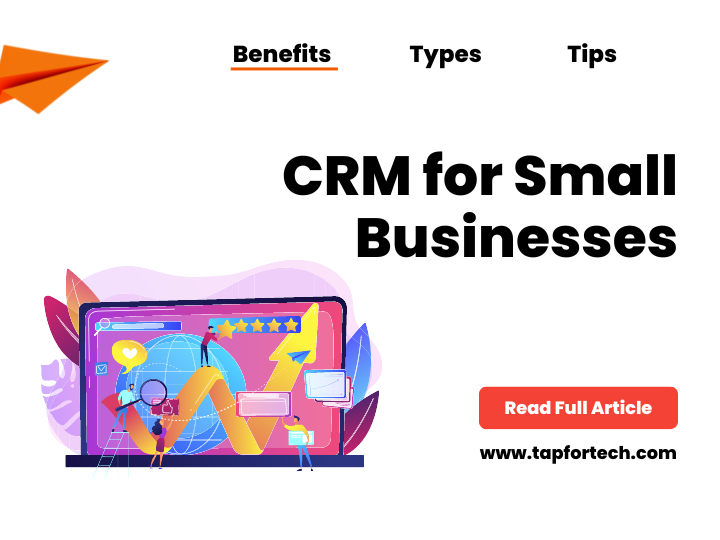
CRM for Small Businesses
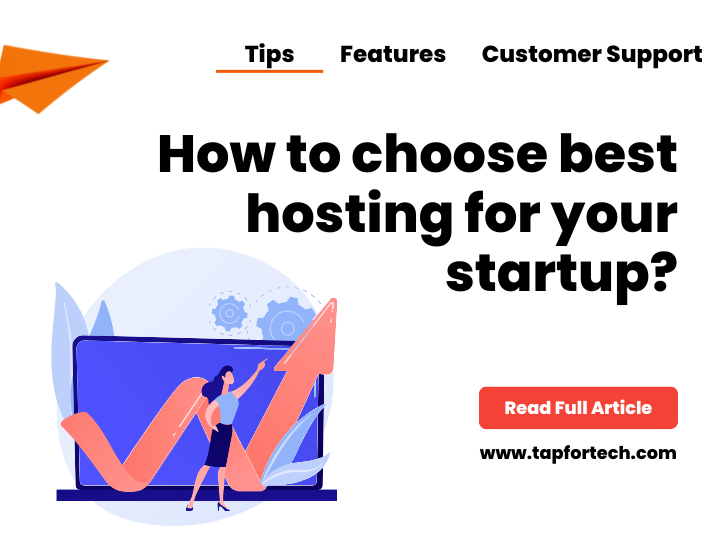
How to choose best hosting for your startup?
Top 8 ways to earn money using ChatGPT
How to earn money using Google Analytics?
How to choose the right School Management System?
How to earn money with Chatgpt?
Why hire Creative digital marketing agency?
Small Business Internet Marketing
Top 15 Digital Marketing Strategy 2023 for the healthcare industry, hospital, and doctors
How many ways to earn money using youtube?
How to make website in WordPress 2024
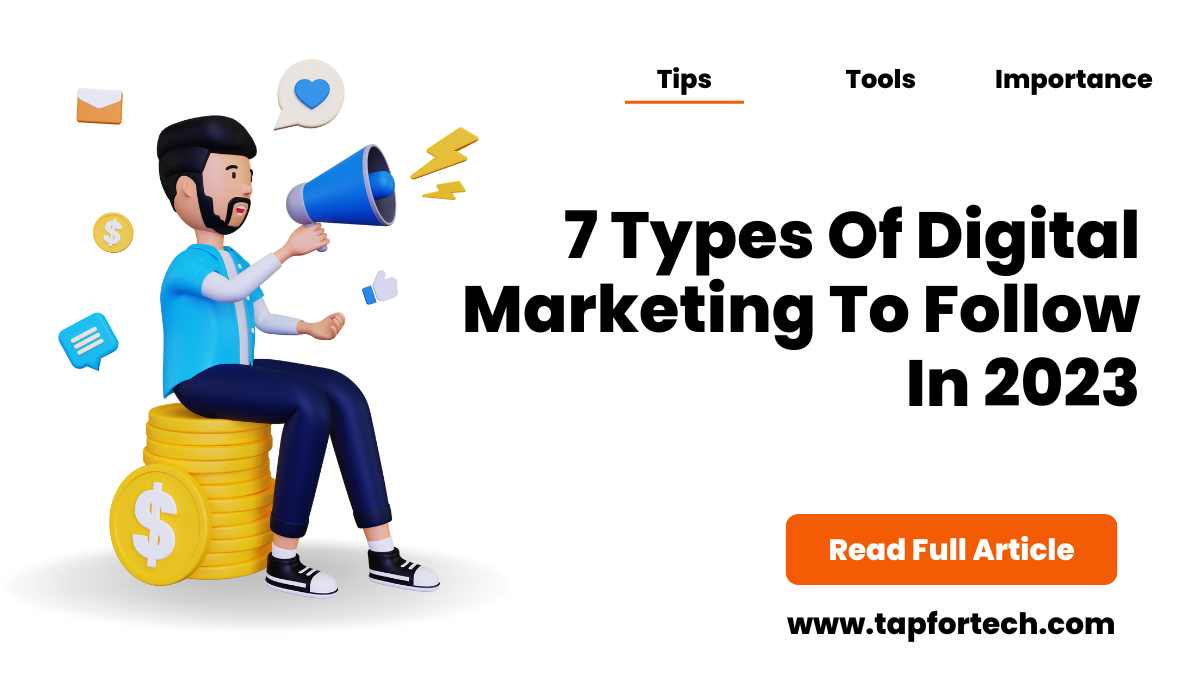
7 types of digital marketing to follow in 2023
7 Awesome and Free AI Tools You Should Know
Why social media marketing is important in 2023?
What is ChatGPT? and its common questions that people have about ChatGPT
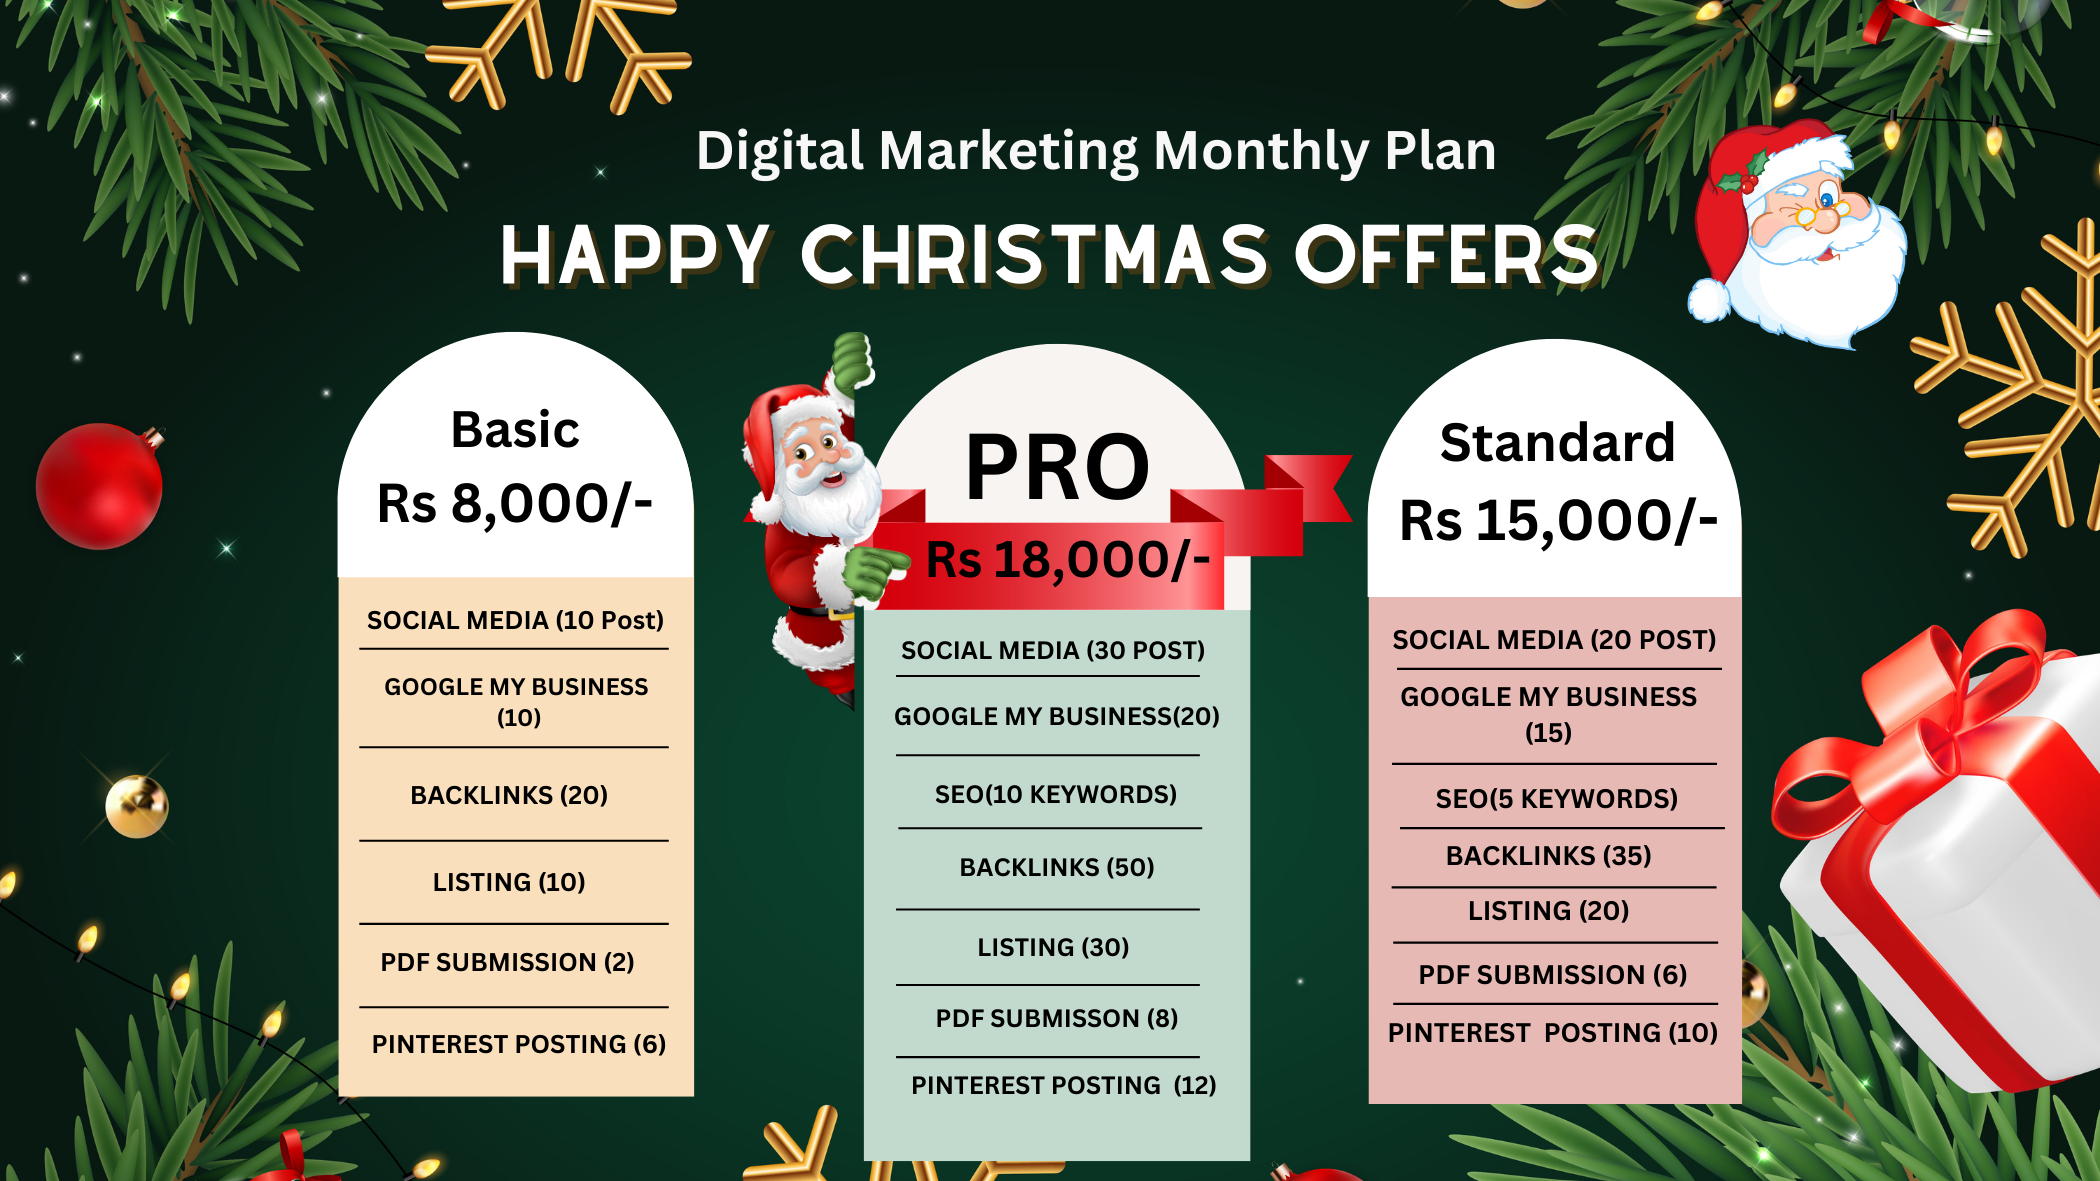
Christmas Digital Marketing Offer
HOW E-COMMERCE WEBSITE HELPS GROW IN YOUR BUSINESS
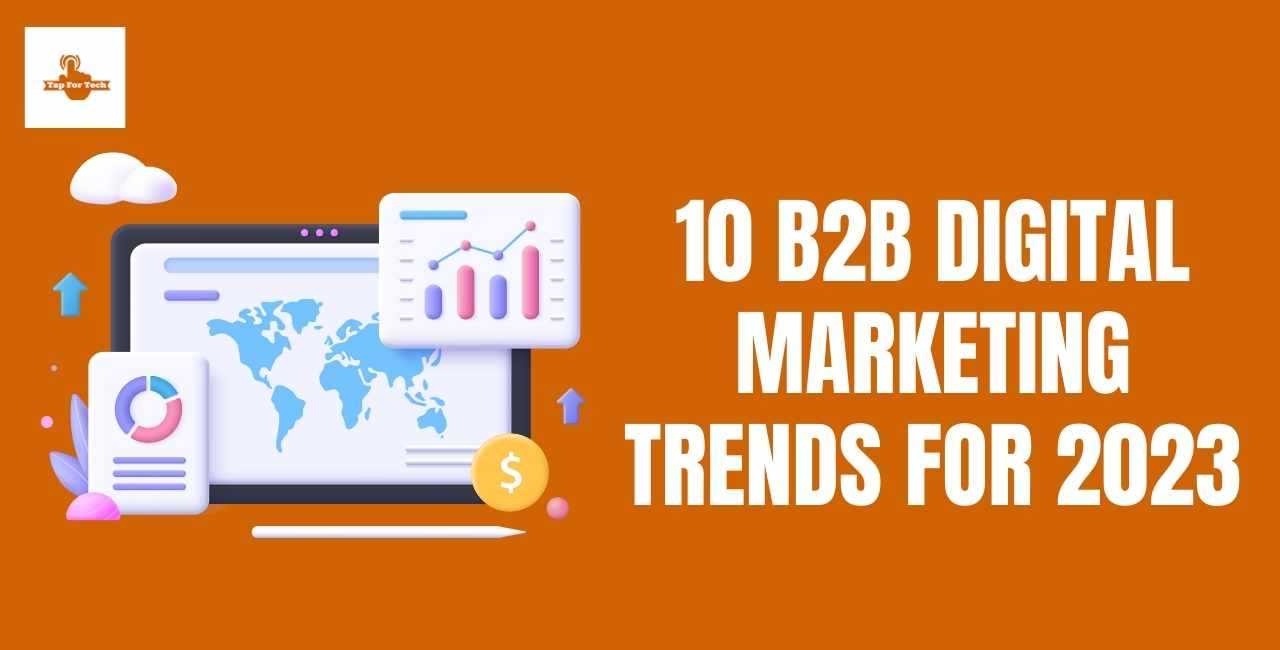
Top 10 B2B Digital Marketing Trends in 2023
Restaurant Marketing Strategy Using Facebook, Twitter & Instagram
Importance of Website Development For Business in 2023
Best Digital Marketing Agency and Company in Lucknow, Uttar Pradesh
Why You Should Hire A Digital Marketing Agency?
10 big Google Ads mistakes that you need to avoid
SEO VS GOOGLE ADS – Which Is Best For A Game Changer?
Digital marketing versus traditional marketing
7 Tips for Using Facebook Ads to Grow Your Business
10 Ways to Make Your Website More Inbound-Friendly
Why is digital marketing important?
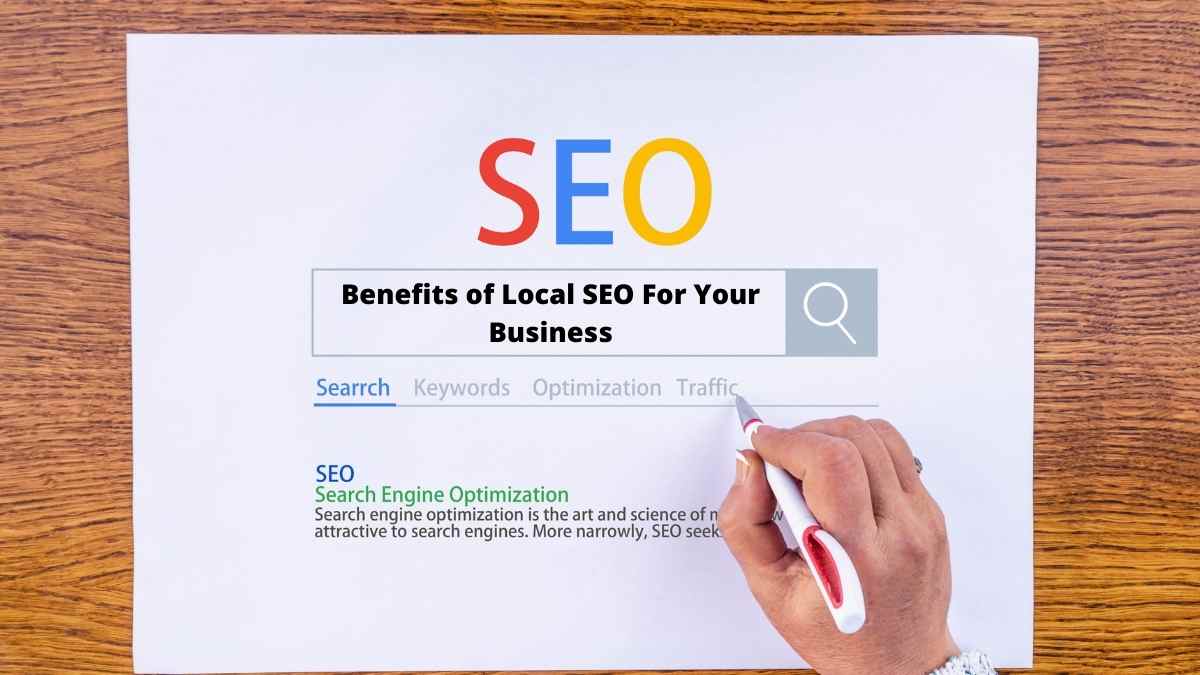
Benefits of Local SEO For Your Business
5 Reasons Why Need A Website
Motives Behind High Bounce Rate
What Is AMP and Steps To Implement AMP
How To Use Youtube SEO For Freelance Business
What Is Local SEO and How Does It Work
How to Optimize Your Website for Local Search
Which Is Better for You: Organic or Paid Search?
How Will Google Analytics Changes Affect Your Business?
Apple Is Set to Develop Its Own Search Engine
2022 SEO AND DIGITAL MARKETING TRENDS
SEO Tips and Tricks for a New Website